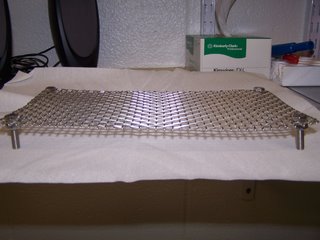
 Wire bottom is made of stainless steel 1 cm mesh. The mesh stands on stainless steel bolts.
 A method for obtaining clean infective larvae can be found in C.H. Burren, 1980, Zeitschrift fur Parasitenkunde, 62:111-112. Don't worry, it's in english.
This is the protocol I use.
1. Place infected source mice in a wire-bottom cage with a collection tray or bottom of cage lined with moist paper toweling. The paper towel should be moist enough to keep the feces from drying out but not so wet as to make the pellets mushy. Leave drinking water in the cage but not food.
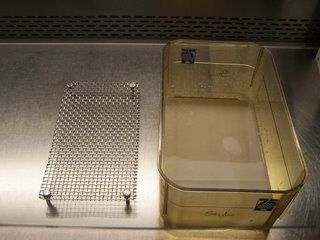 Place well moistened paper towel on cage bottom then the wire mesh.
2. Collect feces for 2-5 hours then harvest the pellets.
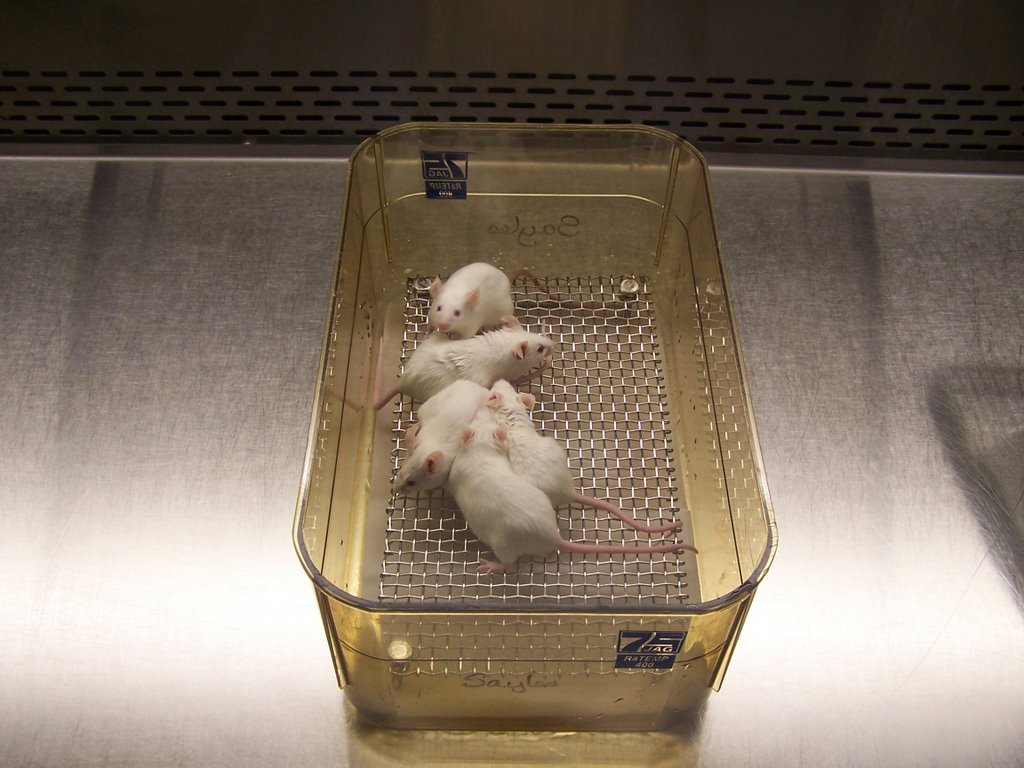
 Add the infected source mice, cover the cage and wait.
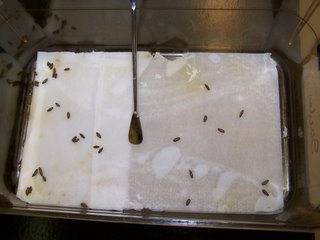 This many fecal pellets from 5 infected BALB/C mice collected for 2 hours.
3. Scrape the pellets into a 50 ml centrifuge tube using a small spatula.
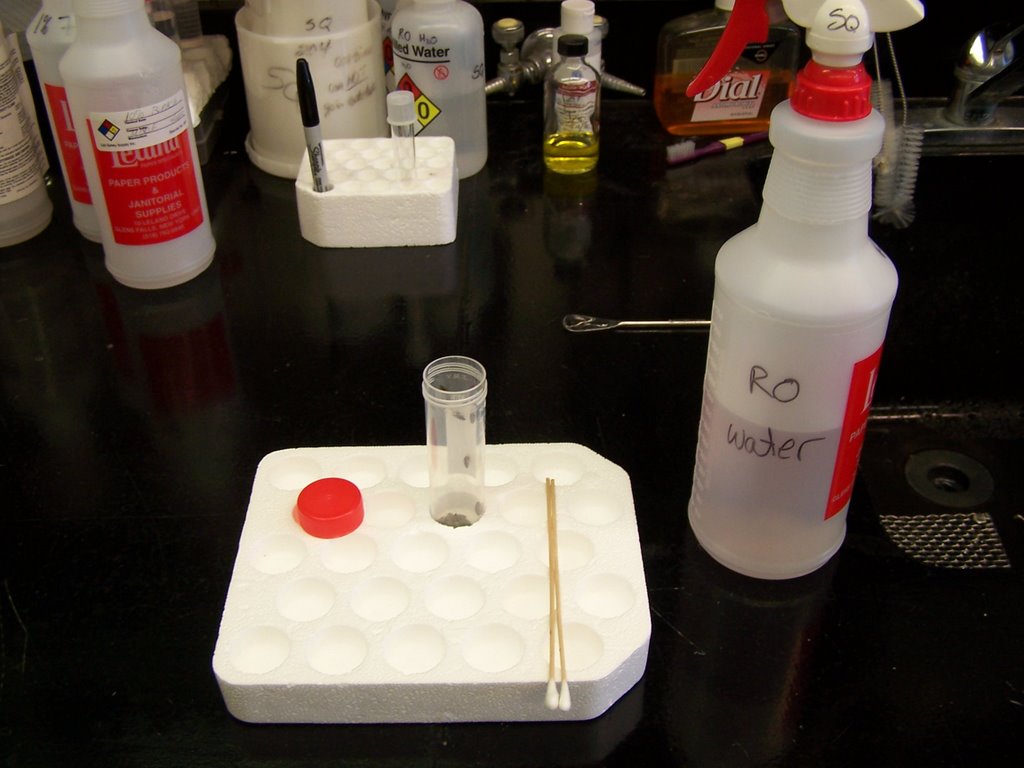
 Gently gather the pellets into a pile and scoop them into the 50 ml tube. I use two applicator sticks to mash up the feces into a smooth paste.
3. Add about 0.5-1 ml distilled water to the tube and mash the pellets into a smooth paste.
5. Fill the 50 ml tube containing the fecal slurry with distilled water, shake to suspend the feces and centrifuge at 250 rpm (11 g) for 2 minutes.
 You can spin faster if you want, my old protocol called for 2000 rpm but I cannot find any eggs in the supernatant fluid when I spin at 250 rpm and a slower spin allows you to remove more of the 'fines'
6. Aspirate the supernatant fluid down to the pellet and fill the tube with distilled water.
7. Repeat '5' and '6' at twice.
8. Resuspend the fecal pellet with 50 ml distilled water and pour it into a 2nd 50 ml tube through a double layer of gauze. This will remove much of the fecal matter but allow the majority of the nematode eggs to pass through the gauze. Squeeze the gauze/fecal matter to remove all retentate and centrifuge as described in step 5.
9. Aspirate the supernatant fluid down to the pellet. Pour the remaining sediment onto 5-6 layers of moistened Whatman 40 filter paper in a culture dish. Be sure to moisten the filter paper prior to pouring the fecal slurry.
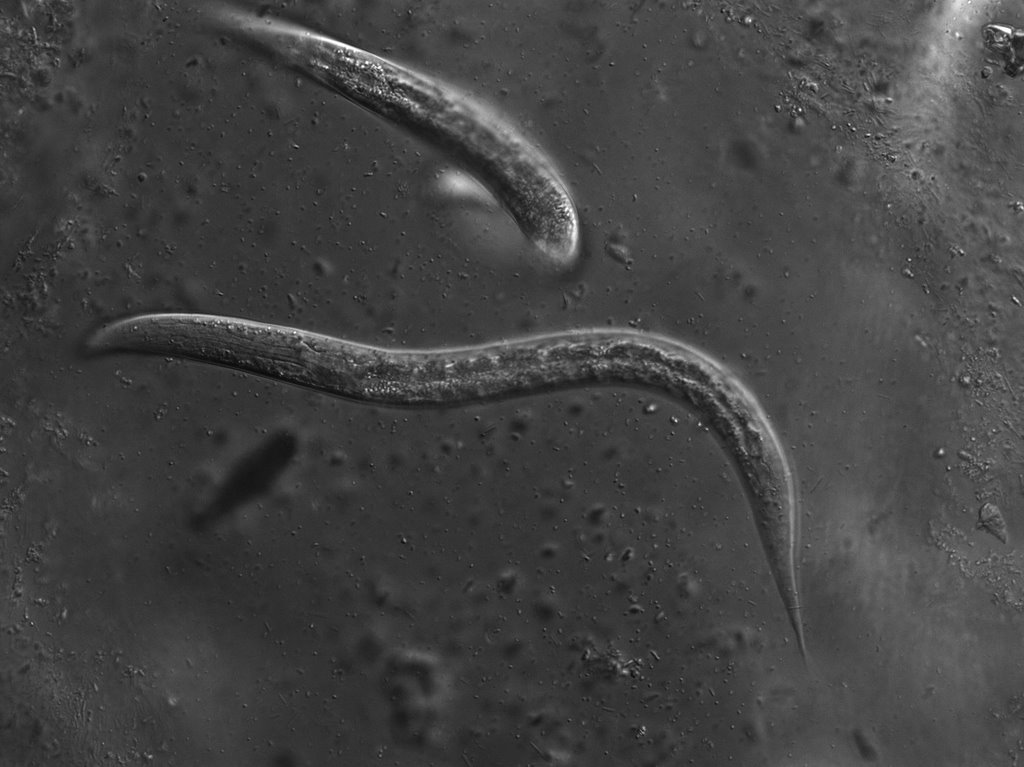
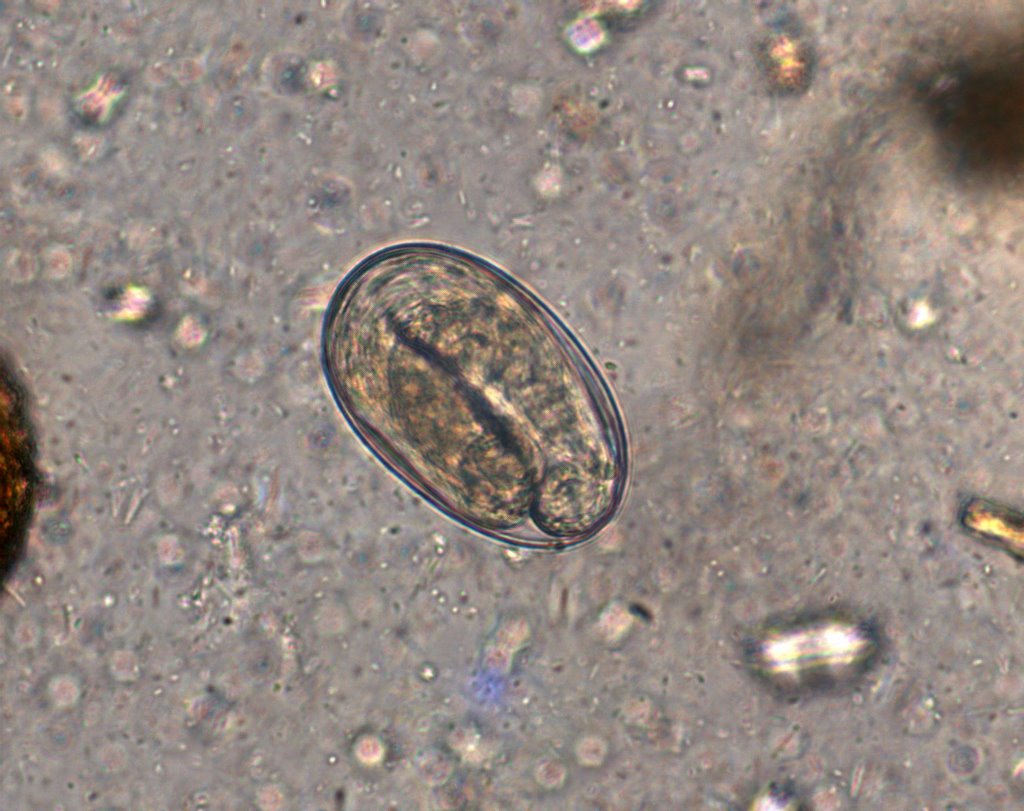
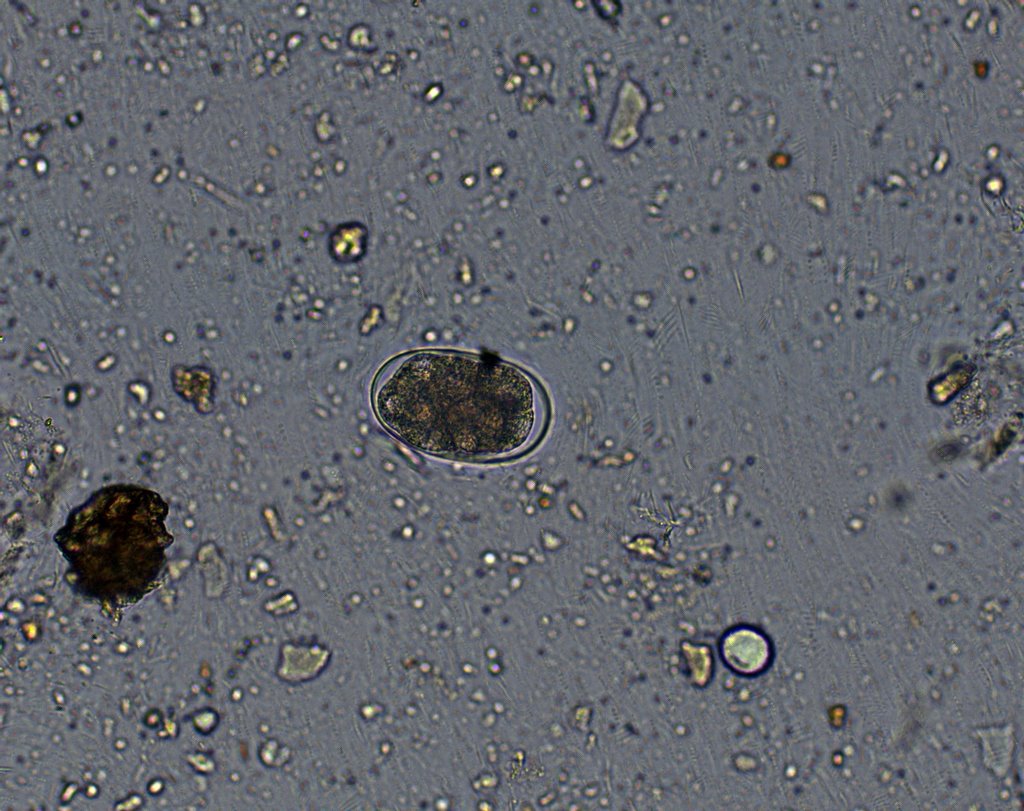
 It's fun to sample the culture everyday and follow the larval development. You can find larvae inside the eggs, followed by unsheathed larvae, followed by ensheathed L3 infective larvae.
10. Place the cultures at room temperature and mist them every day or so with distilled water to keep them moist.
11. After 7-8 days in culture, lift the filter paper with forceps and spray the bottom of the filter paper with distilled water. Remove the filter paper, tilt the culture dish and spray the surface of the dish from top to bottom. Collect the water containing the larvae into a clear 10 ml tube. Fill the tube with distilled water, if necessary and centrefuge at 250g for 2 minutes. Carefully aspirate the supernatant fluid being careful not to aspirate the pellet of larvae. Repeat 3 times.
12. Store the larvae in a 10 ml tube at 4 degrees C. The larvae keep for several weeks.
Any questions?